If you only have a Raspberry Pi – no additional wires, devices, or hardware – then what can you do. That’s something I wondered when I first got a Raspberry Pi. I quickly realised the best uses of Raspberry Pi are those that involve interaction with the real world – motors, displays, and sensors. But the Raspberry Pi itself is lacking a bit in sensors, and extras do have to be purchased.
The only sensor built in to the Raspberry Pi is the CPU temperature sensor. This sensor measures the CPU temperature to trigger a shutdown of the Raspberry Pi if it gets too hot. It is possible to read the sensor using the terminal command cat /sys/class/thermal/thermal_zone0/temp – divide this number by 1000 to get the temperature in degrees celsius.
I used the in-built temperature sensor to measure the effectiveness of different Raspberry Pi cooling methods – check out the video below for more details:
In this quick guide in my series on Raspberry Pi sensors I cover:
- How to use the built-in CPU temperature sensor (and what it can be used for)
- Some of the ways sensors can be added to a Pi
- Projects that can be built with sensors
How to use the built-in sensor
A Raspberry Pi includes a temperature sensor to monitor how hot the CPU is getting. This temperature sensor is used to slow-down or shut-down the CPU if it gets too hot. Many general-purpose computers have a similar sensor – if you’ve ever overclocked your PC you might have run into this temperature limitation. To see what happens when a CPU gets too hot, check out this video.
Temperature readings can be taken from the sensor on the Raspberry Pi. To do this, open up a terminal and enter the following command:
cat /sys/class/thermal/thermal_zone0/tempThis command reads from a special system file using the cat tool (a quick way to print files to the command line). The Linux kernel, which is at the heart of Raspberry Pi OS, and most operating systems that run on Raspberry Pi, makes the CPU temperature readings available in this system file so that they can be used by other programs.
The output of this command needs to be divided by 1000 to get the temperature reading (in degrees celsius). That is, if it tells you 46753, then the CPU temperature reading is approximately 46 degrees C. I found that on my Raspberry Pi it would repeat similar numbers suggesting that the sensor was not accurate to the thousandth of a degree as the print out suggests (I’m a stickler for accuracy in data, if you’re interested in learning more about representing accuracy of numbers, check out this article here).
It is possible to use this CPU temperature sensor to build a Raspberry Pi project. Even though it is part of the CPU, as a functioning sensor it is able to translate real world events into computer data.
I was able to turn my Raspberry Pi into a touch sensor using the built-in CPU temperature sensor. By writing some code to detect when the CPU temperature increased – such as by pressing my finger against the CPU – I was able to trigger an LED to turn on or turn off. Check out the video below for more detail:
If you’re looking for a more practical Raspberry Pi project (it’s probably not a great idea to be touching the exposed CPU of your Raspberry Pi in most circumstances), I recommend adding some sensors to your Pi for data collection and decision making.
How to add sensors to Raspberry Pi
The quickest and easiest way I’ve found to add sensors to the Raspberry Pi is using the Sense Hat. This is a small board designed by the Raspberry Pi foundation to add sensors and an LED display to a Raspberry Pi using the GPIO. It costs a little over $30 to buy, and it comes with a Python library written by the foundation for working with the board.
The Sense Hat includes an LED display, a joy stick, and the following sensors:
| Sensor | Measures |
|---|---|
| Gyroscope | Tilt and orientation of the device (3 dimensional) |
| Accelerometer | Acceleration (single dimensional, such as being dropped) |
| Magnetometer | Magnetic fields (can be used as a compass) |
| Temperature | Ambient temperature |
| Barometer | Air pressure (can help predict weather) |
| Humidity | Amount of moisture in the air (can also help predict weather) |
Sensors can also be connected to the GPIO directly with wiring. This is the most common way I’ve seen for people to connect sensors to their Pi. The GPIO can have sensors connected to it using any of the following ways:
- A digital input pin – supports one sensor per pin
- SPI (serial peripheral interface) – technically allows 128 sensors, though I’ve never seen a Pi use more than 4
- I2C (inter-integrated circuit) – also allows 128 sensors, though again I’ve not seen more than a few connected
It is also possible to connect sensors using the UART or USB, though I’ve found the above three to be more widely available with the sort of sensors that you likely want to connect to a Raspberry Pi.
The GPIO pins are shared for SPI, I2C, and UART, so if you’re using a lot of sensors you might find you’ll need to connect them all using SPI or I2C rather than directly wiring them to a digital input. I like using this guide as a reference for the pin numbers on a Raspberry Pi.
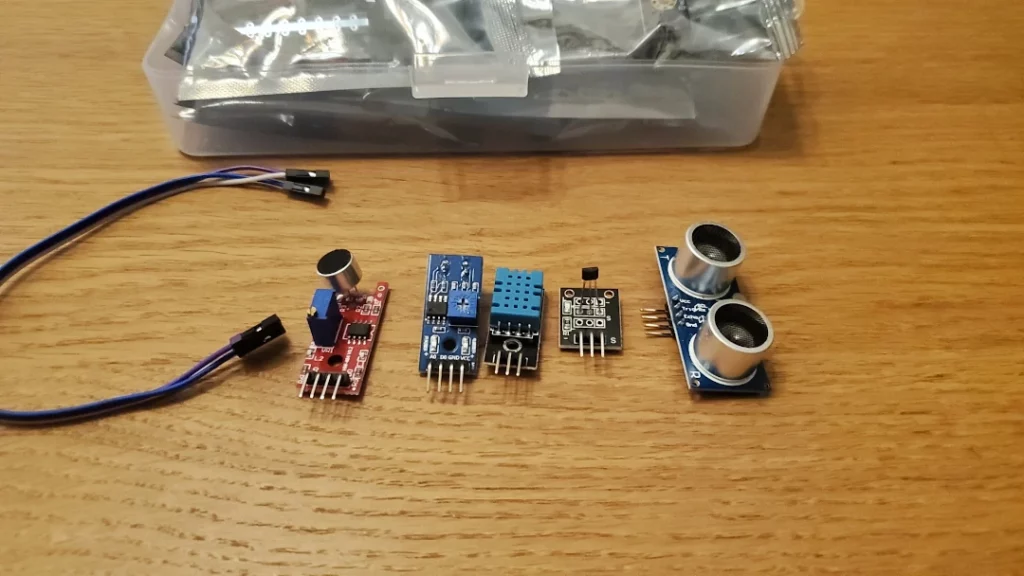
The best way to get sensors, I found, was to buy a sensor kit. These sensor kits are much cheaper than the starter kits that are typically sold alongside a Raspberry Pi. Individual sensors can cost $2-$5, but a kit of 16 sensors can cost as little as $20. I found the best deals buying from Chinese websites, but you might have some luck on Amazon.
Projects that can be built with sensors
I reckon some of the best uses of the Raspberry Pi are when you can take advantage of its easy ability to read sensors. Such as: