I was trying to install some new apps on my Raspberry Pi (for note taking) and none of them were listed in the apt package manager. Instead, they offered me .deb files. After seeing some confusion about how to install .deb files on Raspberry Pi, I decided to put this guide together to help anyone else with the same issues.
To install a .deb file on Raspberry Pi, open up a Terminal and navigate to the .deb file. Then use the apt install command to add install the app on the Raspberry Pi. This command will ensure all necessary dependencies are installed as well.
In this guide I’ve looked at:
- How to identify the correct .deb file for Raspberry Pi
- How to download the .deb file to the Pi
- How to install the .deb file using apt
I’ve also included a troubleshooting section at the end of this article covering some of the common errors that can pop up when following these steps.
Step 1: Find the correct .deb file
A .deb file is a bundle of executable code designed to run on Debian (and Debian-like) Linux operating systems. The Raspberry Pi OS (or Raspbian) is based on Debian and can install apps from their .deb files.
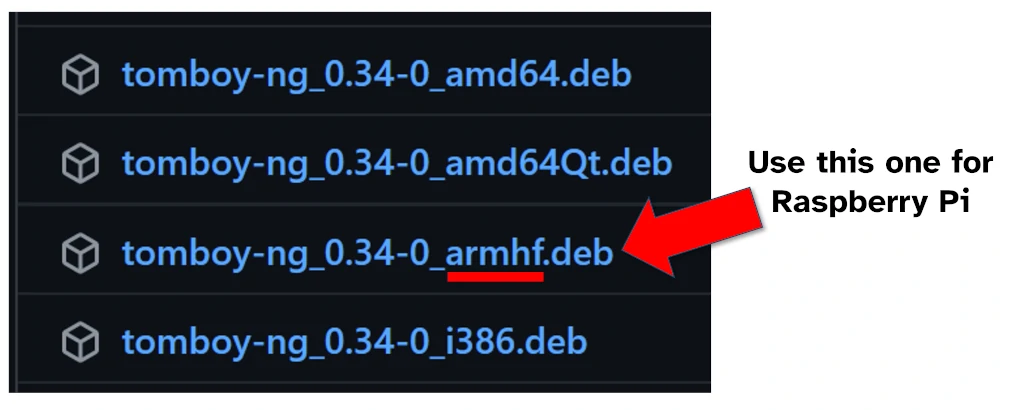
The .deb file needs to be the correct bundle for the Raspberry Pi processor and operating system however. This means that if you are running 32-bit Raspberry Pi OS (the default for most people) the correct .deb file for your Pi will be one marked armhf or armv7.
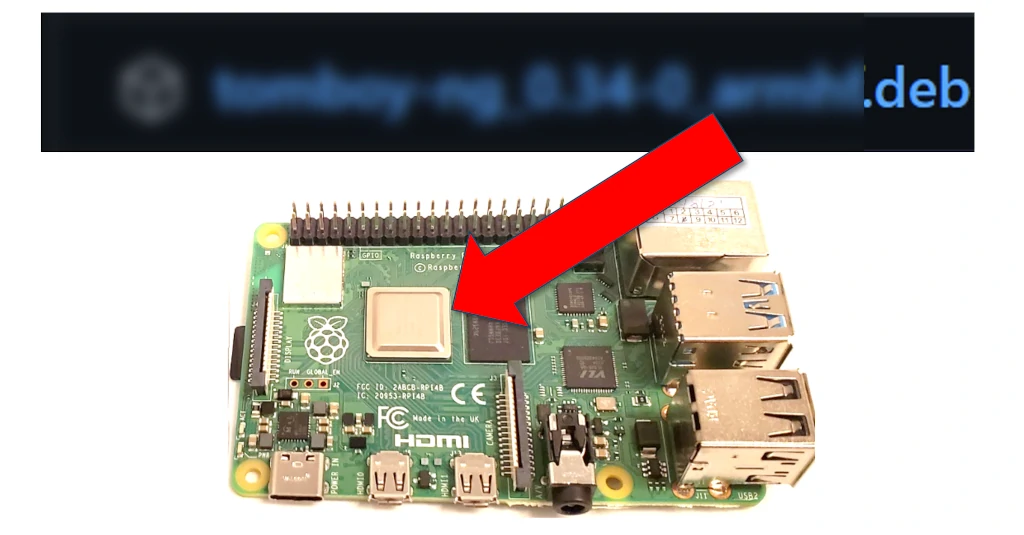
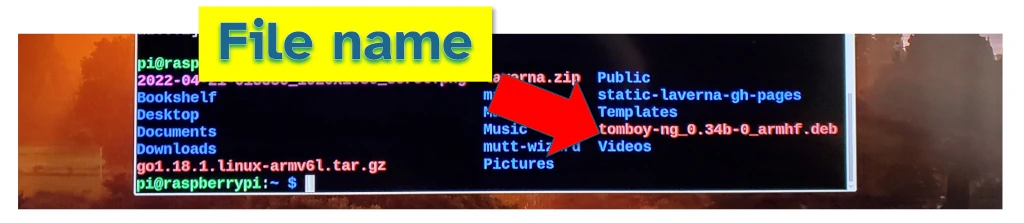
If you’re trying out the new 64-bit Raspberry Pi OS, you should download a 64-bit .deb file (see the table below for examples). Some configurations support running 32-bit apps in a 64-bit operating system, so feel free to try a 32-bit .deb file if it is the only one available (like for the app I was installing in the picture above).
Most apps put the processor type in the file name, see the table below for some examples:
| 32-bit file names | 64 bit file names |
|---|---|
| armhf | arm64 |
| armv7 | armv8 |
Note the difference between amd64 and arm64. Files marked amd64 will not work on Raspberry Pi.
You cannot damage your Raspberry Pi by downloading the wrong file (at least not in any way I’ve seen). If you’ve accidentally downloaded the wrong file, the steps below will produce an error.
Step 2: Save the file to the Raspberry Pi using wget
Most .deb files these days are stored on github. This means the .deb file needs to be downloaded from github onto the Raspberry Pi.
Most apps I’ve seen include a guide on how to do this in their instruction page, but if they don’t here is an example of how to use wget:
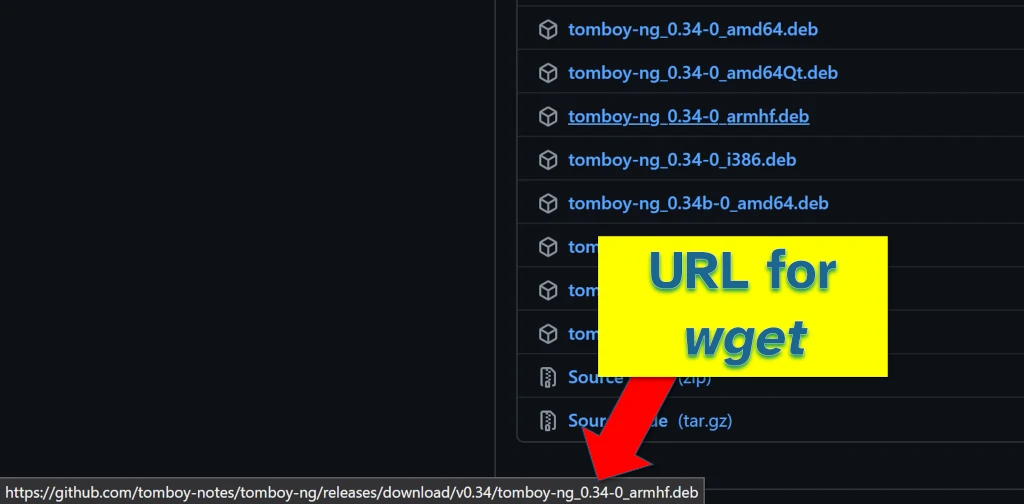
wget https://github.com/tomboy-notes/tomboy-ng/releases/download/v0.34/tomboy-ng_0.34-0.armhf.debThe command should be entered into the Raspberry Pi terminal. This will download the file from the picture to your Raspberry Pi. Every app has a different URL to include with wget, so check the app’s details before downloading. If you need more help with wget, check out this guide here.
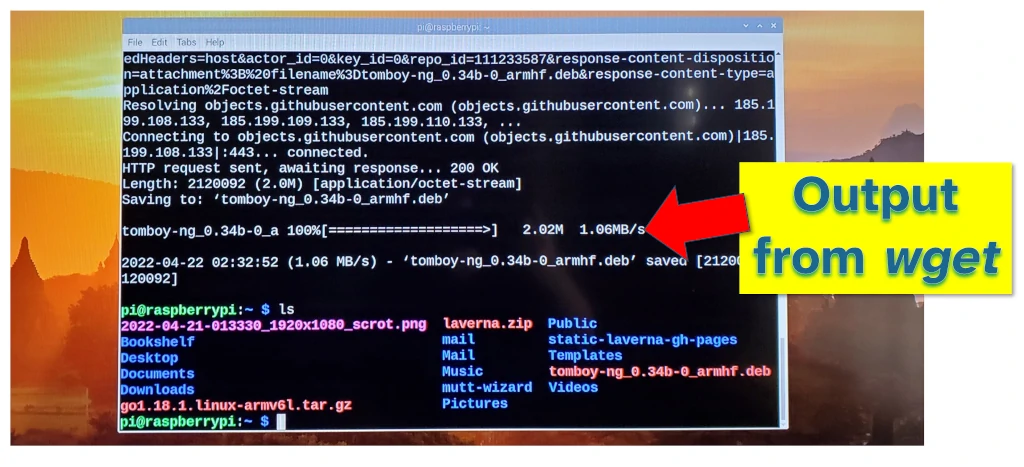
You can also check that the file has been saved correctly using the ls command (that’s lower case “L” and lower case “S”). This is what I did in the picture above after wget finished running.
I find I often make typos when downloading files using wget and it won’t work. While I rely heavily on tab-completion for file names already on my Pi, there is no tab-completion for wget. This means you have to type it out perfectly, otherwise you will get an error or download the wrong file – take care!
Step 3: Install using apt
apt is the package manager for Debian. Many apps require libraries of code to be saved on your device before they will run. A package manager, such as apt, helps you download all the libraries that an app depends on, and it can help you install the app itself.
Being Debian based, the Raspberry Pi OS uses apt to manage installing apps, and to manage the libraries that those apps depend on. To use apt to install a .deb file, you simply use the command with the install directive and point it to the .deb file. The below is an example corresponding to the previous pictures:
sudo apt install ./tomboy-ng_0.34b-0_armhf.debNote the sudo and the “./” – sudo means that this command will be executed as the super user (this is a special account on your Pi that is used to make changes to the system, such as installing apps); the ./ tells the command to look for the file in the current directory.
If typing out long file names is a pain, you can use tab-completion to auto-fill the file name after you start typing it.
While installing the app, apt may ask you to confirm some downloads. You will need to confirm these to make sure your app works properly (I think the original intention was to warn you about download size, but I’ve never seen anything over a few hundred megabytes and my Pi generally has gigabytes of space to spare).
After installation, you can run the app by using its name (in my example above, the command is tomboy-ng).
Troubleshooting
These are some of the common issues I’ve found when trying to install a .deb file on Raspberry Pi:
Architecture not supported
This message usually comes up when using apt on a .deb file that you have downloaded.
Architecture not supported means that the .deb file does not contain executable code suitable for the Raspberry Pi. You might have downloaded the wrong file, or the publisher of the file has named it incorrectly. Go back to step 1 (finding the .deb file) and see if you can find an alternative file that might work on Raspberry Pi.
If you cannot find an alternative file, see below for details about compiling from source.
File not found (wget)
I find this commonly occurs when trying to use wget.
When this happens to me it’s because I typed in the file URL incorrectly. Double check that you have typed out the file name correctly and try again.
Alternatively, open up Chromium, navigate to the site, and download the file there. If doing this, you will need to navigate your Terminal to the downloads folder for Chromium before using the apt command (use cd to change directory in the Terminal).
I have an .rpm file, will it work?
.rpm files are intended to be used on the Red Hat family of Linux operating systems, and therefore do not usually work on Raspberry Pi. It may be possible to convert a .rpm file so that it can be installed on Raspberry Pi, this can be done using an app called Alien.
The Raspberry Pi is capable of running Red Hat-based operating systems, such as Fedora. If you are running Fedora on your Raspberry Pi, then you can install .rpm files.
I can’t find a .deb file, what can I do?
Many apps I’ve tried to install on Raspberry Pi do not have .deb files. If the app you want to install doesn’t have a .deb file, try the following:
Install from apt directly (the easy way). Many apps are included already in apt‘s repositories. These can be installed simply from the command sudo apt install <app name>. Any app in the repository will work on Raspberry Pi (though this means that if apt tells you the app cannot be found, there isn’t a version there available for Raspberry Pi).
Compile from source (the hard way). Most apps that can run on Raspberry Pi are open source. This means that the code is freely available to be read, and it also means that you can compile the code to get the app to run. Some apps include instructions on their github page that tell you how to compile, but many do not. This is a general guide I found on compiling from source, though it’s tough to follow.
I compiled from source the classic computer game Roller Coaster Tycoon 2. Check out my video here if you’re looking for hints on how to compile something from source for the Raspberry Pi:
I can’t find an armhf, armv7, or other arm-based file
It is possible to run an x86 .deb file on Raspberry Pi. A program called box86 is capable of executing 32-bit x86 code on the Raspberry Pi’s ARM processor.
The guide for setting up box86 can be found here. I’ve found it a little complicated, but might be worth a shot as it’s probably still easier than compiling from source.