I’m on a quest to find whether a Raspberry Pi can replace a desktop as a general-purpose computer. One of the tasks I do most frequently on my desktop computer is check my ChipWired email. In this guide I’m sharing some of the ways I’ve explored sending and receiving email using my Raspberry Pi.
The best email clients for Raspberry Pi are Claws and Thunderbird, which offer a graphical interface to send and receive email, as well as a helpful setup wizard guide for adding new mail boxes. Python can also be used on a Raspberry Pi to send and receive emails using the smtplib and imaplib respectively.
In this guide I’ve included these email clients and a few others I tried out in my quest to see if a Raspberry Pi can replace my desktop. All the examples I’ve included in this list are free and open source (you can look at the code).
1. Python
Python can be used to send and receive email on a Raspberry Pi. Email can be sent from a Raspberry Pi using the smtplib Python library. To receive email, the Raspberry Pi can access a mailbox that email has been sent to using the imaplib Python library.
I’ve found these libraries to be easy to use if you have control over the mail box, and you don’t need a high level of security – it can be useful for projects where you need to send some data from your Raspberry Pi to an email address (use the smtplib to do this). When security and anti-spam starts getting involved, it becomes a little harder to send from your Raspberry Pi.
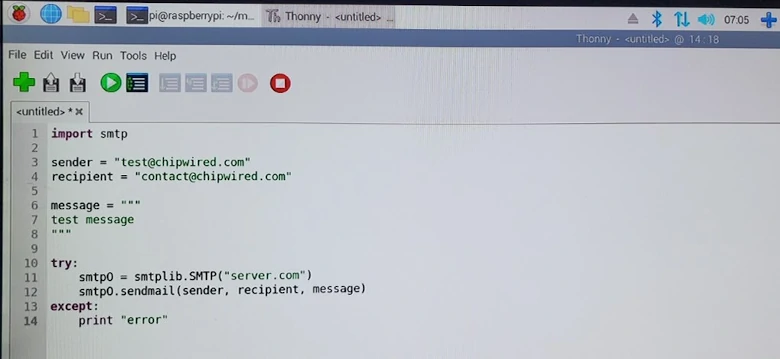
To send email from a Raspberry Pi using Python:
- Import the
smtpliblibrary - Create a connection to the SMTP server (usually hosted by your mail provide)
- Use the
smtplibmethods to send the email
A full tutorial with code examples can be found here. For Raspberry Pi, rather than use localhost for the SMTP server, I recommend using a separate email provider (Gmail supports using their SMTP server with a Gmail account, using the settings found here).
To receive email using a Raspberry Pi and Python:
- Import the
imapliblibrary - Create a connection to the mailbox server
- Fetch the available emails and print the results
A full tutorial with code examples can be found here. I tested this on the chipwired contact email address (contact at chipwired.com) and it supports IMAP without a problem. Setting up IMAP with Gmail is a little more complicated, the instructions can be found here.
2. Claws
Claws is a graphical user interface email client very commonly found on Raspberry Pi. It offers a straightforward ‘point and click’ interface that allows you to use a mouse to navigate and read your emails.
If Claws is not already installed on your Raspberry Pi, open up a Terminal and do the following:
- Enter the following command to update the Raspberry Pi:
sudo apt update && sudo apt upgrade - Install Claws with this command:
sudo apt install claws - Run Claws either from the Raspberry Pi menu (under Internet) or from the command line by typing
claws
I found Claws very simple to use. It comes with a setup wizard that guides you through adding an email account, and helps you make sure you have all the right details. Personally though I prefer the Thunderbird setup process (see below).
The Claws website is pretty basic, it can be found here.
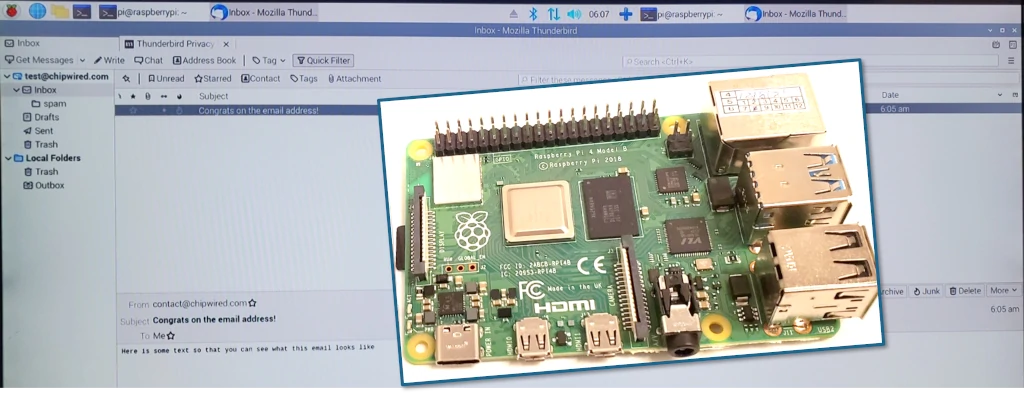
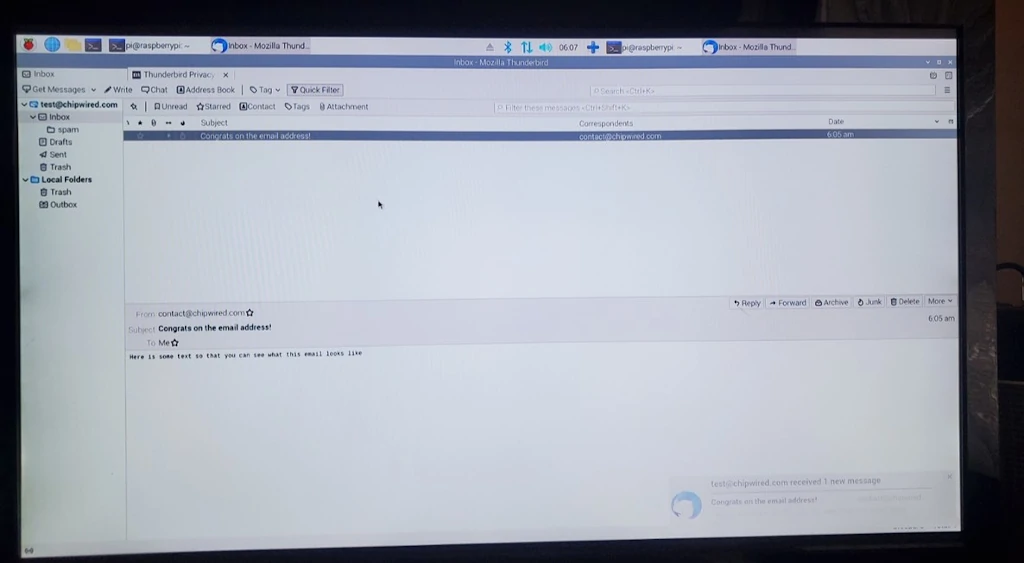
3. Thunderbird
Thunderbird is my favourite desktop email client. It has a graphical user interface, it’s free and easy to setup, and it allows you to manage multiple email accounts from one program. Thunderbird runs on Raspberry Pi and supports Gmail, Outlook, and many other mail providers via SMTP, POP, and IMAP protocols.
To install Thunderbird on Raspberry Pi, open up a Terminal and type the following:
- Update the Raspberry Pi with this command:
sudo apt update && sudo apt upgrade - Install Thunderbird with this command:
sudo apt install thunderbird - Run Thunderbird by typing in
thunderbirdat the terminal prompt, or by clicking on the Raspberry Pi menu and selecting Thunderbird under Internet.
On the first run after installation, Thunderbird will walk you through how to add your email account.
Thunderbird is incredibly popular, so any problems can easily be found by doing a Google search. If you need their website, it can be found here.
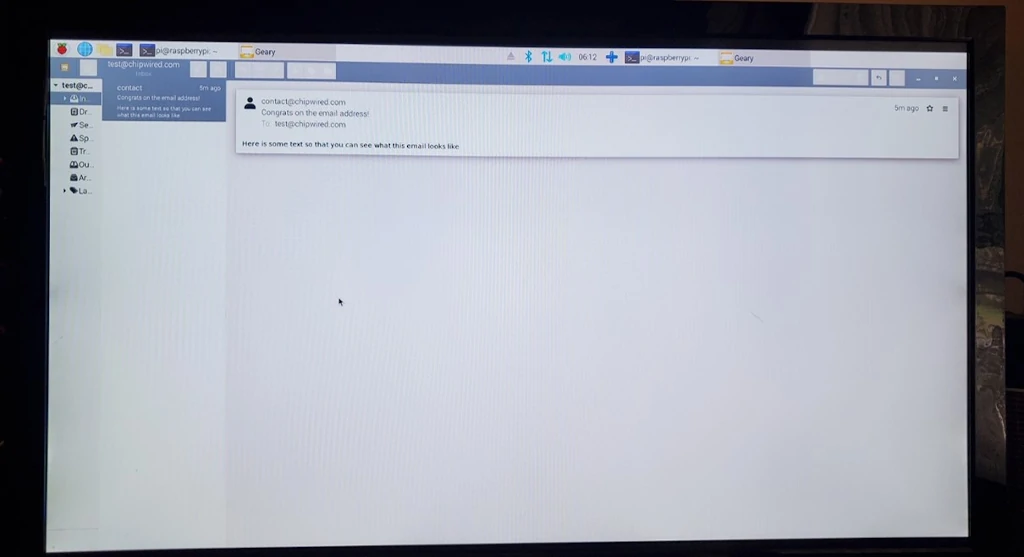
4. Geary
Geary is an email client with a graphical user interface that runs on Raspberry Pi. The interface is supposed to be a bit nicer than Claws, but when I ran it on my Raspberry Pi I couldn’t figure out how to make it look nicer (the default was OK, but part of the window wouldn’t show properly and I couldn’t figure out how to fix it.
Geary can be installed using apt, just like the other clients on this list. Use the command apt install geary in the terminal to install Geary, then run it by entering geary into the terminal.
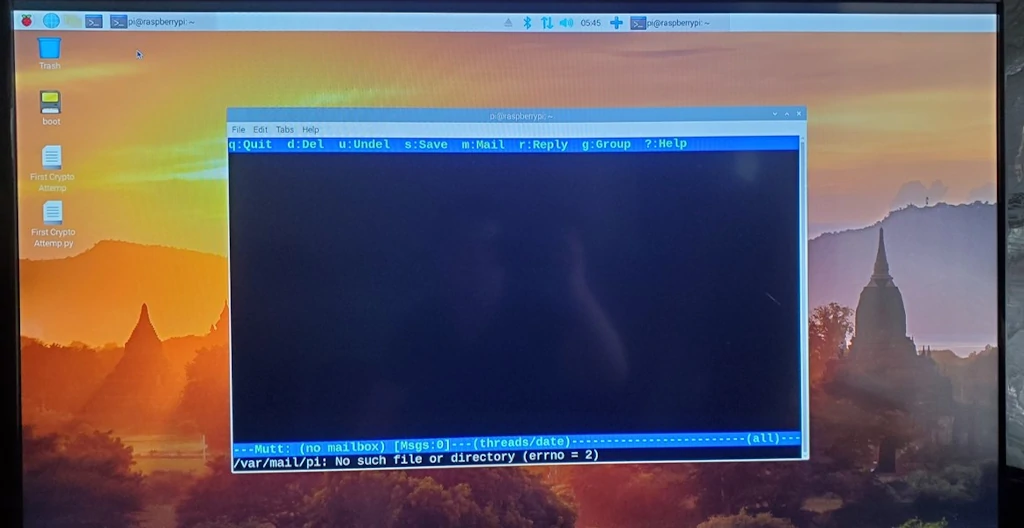
5. Mutt
Mutt is a text-based email client that runs in the Raspberry Pi terminal. It has a broad range of support for Gmail, Outlook, and other email providers using the SMTP, POP, and IMAP protocols. Mutt runs in the Terminal on a Raspberry Pi.
To install Mutt on a Raspberry Pi:
- Open up a Terminal and type the following command to update the Pi:
sudo apt update && sudo apt upgrade - Install Mutt with this command:
sudo apt install mutt - Configure the settings by creating the necessary files or running the Mutt Wizard
For a more detailed guide about the settings for Mutt, check it out here. If you want to use Mutt Wizard (this is what I recommend), check out the guide here.
I tried to like Mutt, but in the end I couldn’t get over how difficult it is to configure. I usually prefer Terminal-based applications as I find them faster to use, and I appreciate the simplicity. Unfortunately, I couldn’t get a grip on configuring Mutt.
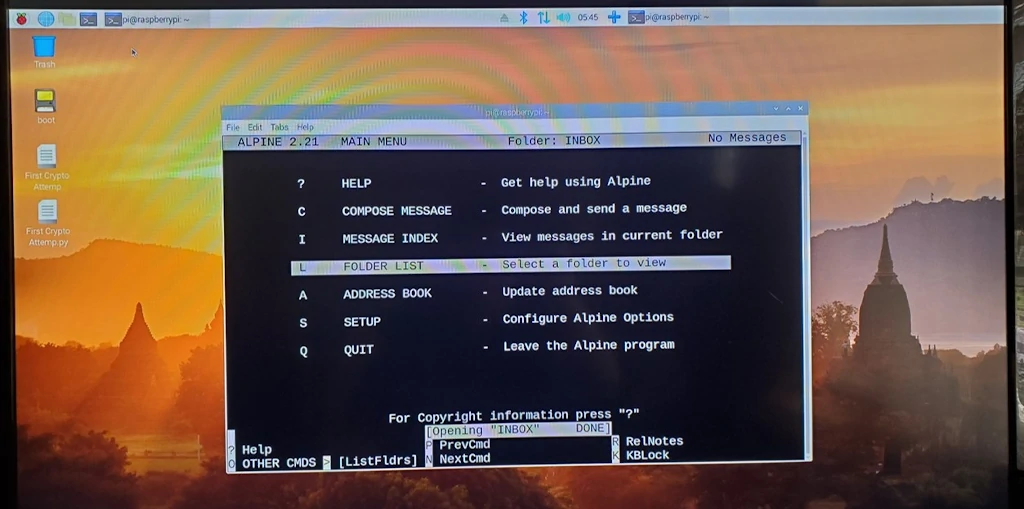
6. Alpine
Alpine is a terminal-based program for working with email. It supports the major email providers (such as Gmail and Outlook), and runs on the Raspberry Pi. Alpine claims to be more user friendly than Mutt, but I still found it difficult to setup.
Installing Alpine is accomplished using the same steps as the other email clients in this guide: Open a Terminal window, ensure the Pi is up to date, and run the command: sudo apt install alpine
After installation, you can run Alpine using the alpine command, and then use the Setup and Config menu to add settings for your email client. I found it tough to navigate these menus, as the default and prominent settings were not relevant to my use (I wanted to configure it to read my ChipWired contact email address, but it was too difficult).