I love exploring ways a Raspberry Pi can replace a full desktop computer. This exploration includes finding ways to accomplish my day-to-day tasks on a Raspberry Pi, such as note taking. In this guide I’ve listed out some of the note taking apps that I tried out on Raspberry Pi, and how I went about installing them.
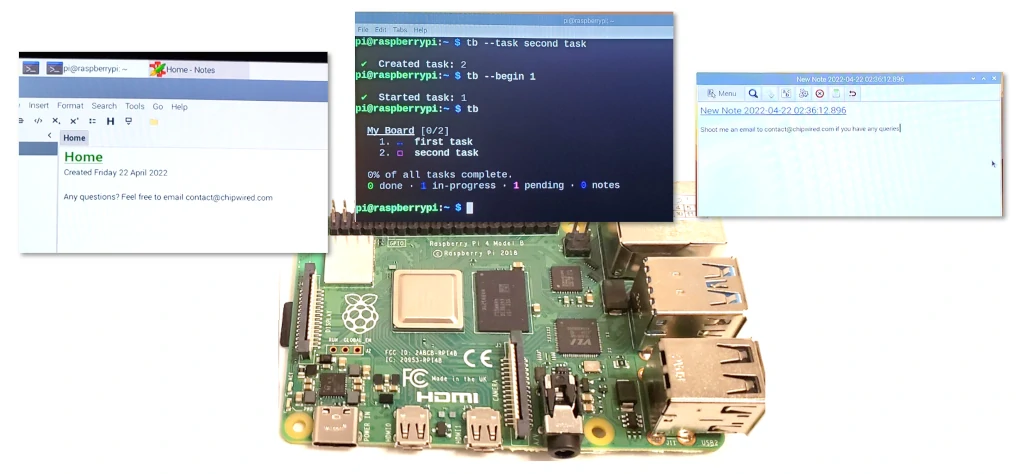
A Raspberry Pi can take notes using Taskbook, Zim, or Tomboy-ng. These note taking apps offer graphical or command line interfaces that run on Raspberry Pi. The note taking app can be installed from a .deb file or by using the apt package manager.
In this guide I’ve included brief detail on how to install each app, as well as some of the benefits I found of using them. The apps in this guide focus on plain text, if you’re interested in taking Markdown notes on Raspberry Pi, check out my Markdown guide here: chipwired.com/markdown-tools-raspberry-pi
1. Use Taskbook from the command line
Taskbook is a free, open source, and easy to use command line tool for managing to-do lists, boards, and notes from the command line. It allows you to organise your notes and tasks as boards or timelines, and provides a simple syntax that makes it easy to learn and use.
Raspberry Pi can run Taskbook and take notes using the command line interface in Terminal. Taskbook relies on Node.js to run, which the Raspberry Pi also supports. Personally, I love command-line apps as they are fast to use (you don’t have to move your hands from mouse to keyboard), and they work well over unreliable internet connections (when you might only have a command line text-based interface available).
Follow the steps below to install Taskbook:
Step 1: Install Node.js and NPM
I’ve found the Raspberry Pi package manager to have a sufficient version of Node available to support Taskbook (many guides online – such as this one – will tell you to worry about the version of Node, and that using apt doesn’t allow you to control the version, however I haven’t found a problem using apt when running simple apps such as Taskbook).
To install Node.js and NPM on your Raspberry Pi, open up a Terminal and type in these commands (press enter after each command):
sudo apt update && sudo apt upgrade
sudo apt install nodejs npm
These command update your Raspberry Pi and then install Node and NPM.
My Raspberry Pi already came with Node and NPM installed, so don’t be surprised if apt tells you that you already have the “latest version” (mine was a very old version, but it still worked fine with Taskbook).
Step 2: Install Taskbook using NPM
NPM is the package manager for Node. It helps you install all sorts of apps that run on Node, it also helps you manage dependencies (i.e. libraries that your app needs to run) and keep everything up to date.
Use this command in the Terminal (once Step 1 is finished) to install Taskbook:
npm install --global taskbookThis command uses NPM to install Taskbook as a global app available anywhere on your Raspberry Pi (that is, you don’t have to navigate to the Taskbook directory to be able to run Taskbook).
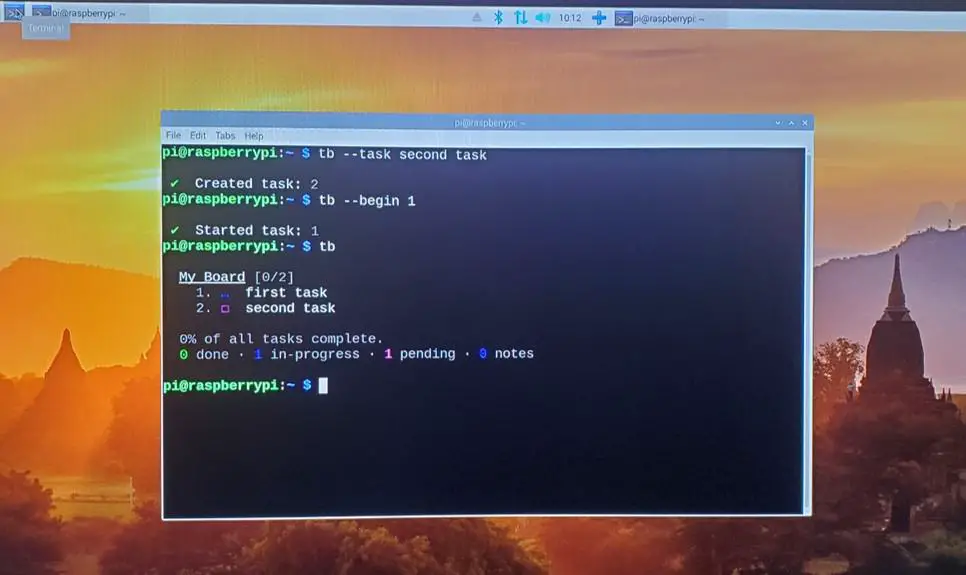
Step 3: Run Taskbook with the tb command
Taskbook should have been installed to run whenever you type the tb command in the Terminal. Various commands are available to help you add notes, view boards, and work with lists.
Useful commands for Taskbook are described in the table below:
| Command | Use |
|---|---|
| tb –help | Display a list of commands for interacting with Taskbook |
| tb –task | Create a new task (add the task name after the command) |
| tb –timeline | Show the list of tasks in timeline view |
| tb | Show the list of tasks in board view (this is the default) |
A full list of commands and some examples of how to use are available on the Taskbook Github.
2. Host a personal Wiki with Zim
Zim is a free and open source graphical note taking tool that organises its notes as a personal Wiki running on a single device. This allows you to apply formatting to your notes, as well as link your notes together (an important feature of a Wiki). It also supports pictures, equations, and task lists.
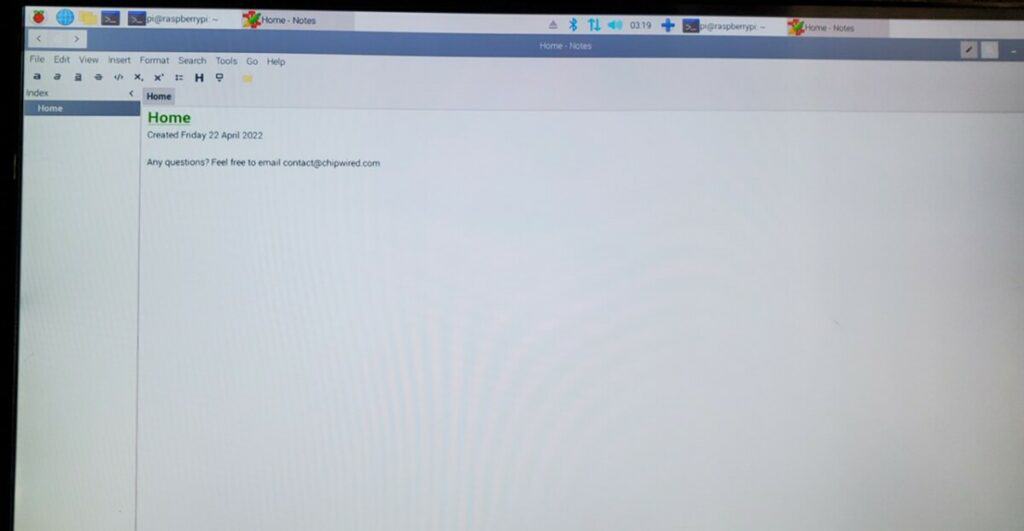
A Raspberry Pi can run Zim for note taking. This will allow you to use the graphical interface for taking notes and organising your notes into Wiki-style articles. I’ve found it to be much more powerful than command-line note taking, though it can also be a little slower to use (I find all mouse-uses to be slow – I recommend leaving Zim open on your Pi if you want it to be faster, that way you can go straight to typing if you need to).
To install Zim on Raspberry Pi:
- Download the latest version of the .deb file from here (it’s usually right at the bottom)
- Open up Terminal on the Pi and navigate to the directory you downloaded the .deb file to
- Use the following command:
sudo apt install ./zim_0.74.3_all.deb
Note that the file name in your command should match the one you downloaded (when I did this on my Pi, the file I downloaded was called zim_0.74.3_all.deb).
If you need help on how to download and install a .deb file, I wrote a whole guide that can be found here: chipwired.com/install-deb-file-raspberry-pi
3. Take simple notes with Tomboy-ng
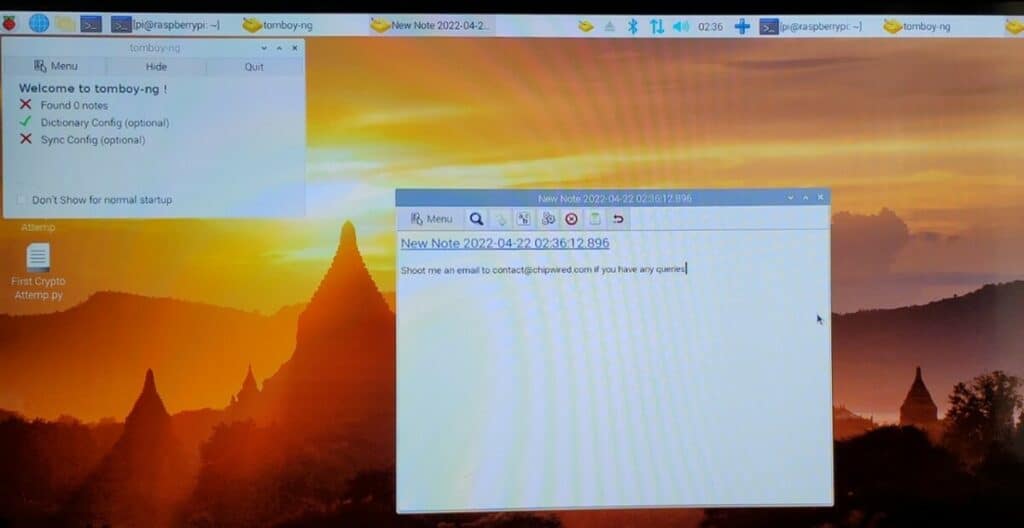
Tomboy-ng is a simple note taking app that also supports synchronisation between Windows, Linux (including Raspberry Pi), Mac, and Github. It has a very simple graphical user interface, and offers a fast way to take notes.
Raspberry Pi can run Tomboy-ng, including features for synchronising with other computers. I found it fast to get going and use if you want to take simple notes. It’s great for taking simple notes, but if you’re after to-do lists or linking between your notes consider one of the other options on this list.
To install Tomboy-ng on Raspberry Pi:
- Download the .deb file from the link on this page (Raspberry Pi is listed at the end)
- Open up a terminal on the Pi and navigate to the directory you downloaded the .deb file to
- Use the following command:
sudo apt install ./tomboy-ng_0.34-0_armhf.deb
Note that your filename (the tomboy-ng_0.34-0_armhf.deb) might be different based on what you downloaded – make sure you’re using the filename that you downloaded from Github. Also note the ./ that is required to tell apt to use a local file.
I wrote a whole guide on installing .deb files, if you need further help check it out here: chipwired.com/install-deb-file-raspberry-pi
If you’re wondering, the ‘ng’ in Tomboy-ng stands for “next generation”, as it’s a significant upgrade over the original Tomboy note taking app.
4. Interact with Notion using a Notion CLI
Notion is a note taking application with an extensive support for collaboration and project management. It’s a very powerful tool for organising notes, pages, teams, and work flows. There is an unofficial command line interface written in Python that can interact with a Notion account, it can be found here.
Raspberry Pi can use Notion via its web interface, or by using the command line. I’m highlighting the command line interface in this guide to help anyone running a Raspberry Pi with command-line interface only (i.e. no graphical web browser available).
To install this unofficial Notion CLI on Raspberry Pi, follow the installation instructions found here: https://github.com/kris-hansen/notion-cli. Raspberry Pi has the prerequisite programs installed already (python3 and pip).
5. Work with a text editor such as Vim
If you prefer to take notes as text files, then a simple text editor is the way to go.
Vim is a simple (yet powerful) text editor that runs from the command line. It is based on an old text editor called vi – vim is the improved version. Vim is my preferred text editor every time I need to do something on the command line.
Raspberry Pi supports vim. If vim is not already installed on your Raspberry Pi, installation is simply by opening up a Terminal and typing in the following: sudo apt install vim
Open a new file by typing vim <filename> at the command line, press a to edit the text, and then press escape followed by :w (yes colon and ‘w’) to write out the file and save it. A full ‘getting started’ guide to vim can be found here.