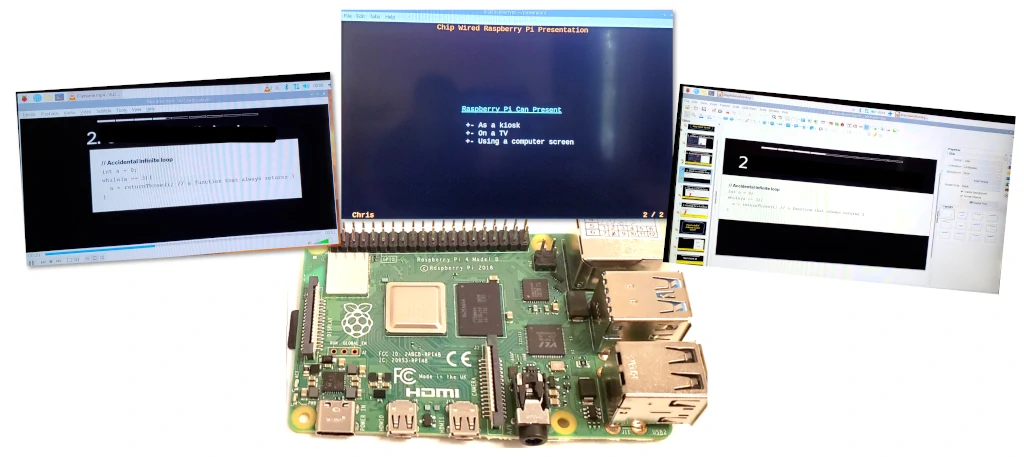
I was exploring ways to setup a kiosk display using my Raspberry Pi and realised that PowerPoint slides are a good way to do this (if you don’t want it to be interactive). I figured I might also use the Pi as part of a talk one day, so I explored all the different ways I could find to make and display slide show presentations using a Raspberry Pi.
Raspberry Pi can display a slide show presentation using LibreOffice Impress, by displaying a video of the presentation, or by showing a PDF of the slides. Full screen display and looping is available with these methods allowing the Pi to display slides as a kiosk or passive display (such as advertising). It is also possible to create and display a command-line based slideshow presentation using an app called mdp.
In this guide I’ve given more detail about how to use each of these methods to display a slide show presentation from a Raspberry Pi, including how to use looping for the methods that support it.
1. Create a video and use VLC
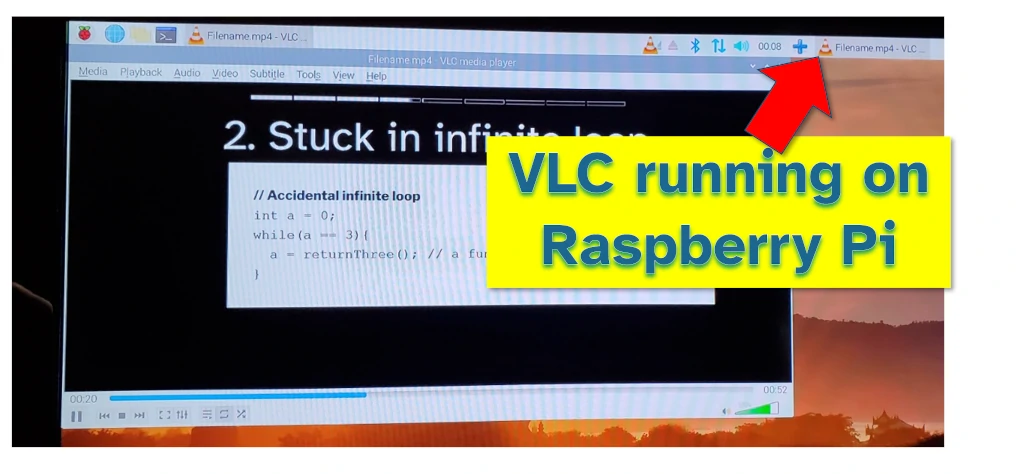
VLC (standing for Video LAN Client) is an app that runs on Raspberry Pi to play videos. It is quick to open, doesn’t consume many resources, and easy to use.
Raspberry Pi can use VLC to play a PowerPoint presentation that has been converted into a video. Once the PowerPoint presentation has been converted to video it can be played on VLC.
Using VLC on Raspberry Pi allows you to:
- Continuously loop the presentation
- Display in full screen (I tested up to 1080p)
- Store the video on the Pi or play over a network
To use VLC to display a presentation on the Raspberry Pi, follow the steps below:
Step 1: Ensure VLC is installed on the Raspberry Pi
VLC should already be installed on a Raspberry Pi. If it’s not, simply open up a Terminal and type in the following command:
sudo apt install vlcStep 2: Convert the PowerPoint slides to video
The best way to convert PowerPoint slides to video is to use Microsoft PowerPoint:
- Open up your slides in PowerPoint
- Click on File and then Export
- Click on Create a Video
I like to export as 1080p (which runs on Raspberry Pi) and I also like to record timings for my slides. If I’m setting up the Raspberry Pi as a kiosk, there might be different timings for some slides so I like to be able to manage this.
If you do not have Microsoft PowerPoint consider using a screen recorder (such as here), Google Slides (using this add-on), or one of the options available here.
Step 3: Transfer the video file to the Raspberry Pi
If you had to do the conversion to video using Microsoft PowerPoint then the resultant video file is not on the Raspberry Pi itself.
To transfer the file to Raspberry Pi check out the list here. I used the scp method for this video file over a WiFi connection.
Step 4: Open the video file in VLC and set it to loop
Once the video file is on the Raspberry Pi it can be opened with VLC. Click the loop button at the bottom of the player to have the video repeat.
It is possible to open a video file over a network (this is what VLC was designed to do), though I’ve never been able to get it working reliably.
2. Display slides using LibreOffice Impress
LibreOffice is a suite of free tools for working with office documents, intended to offer an open source alternative to the Microsoft suite. It started life as Open Office, though has now been ‘forked’ into a different project.
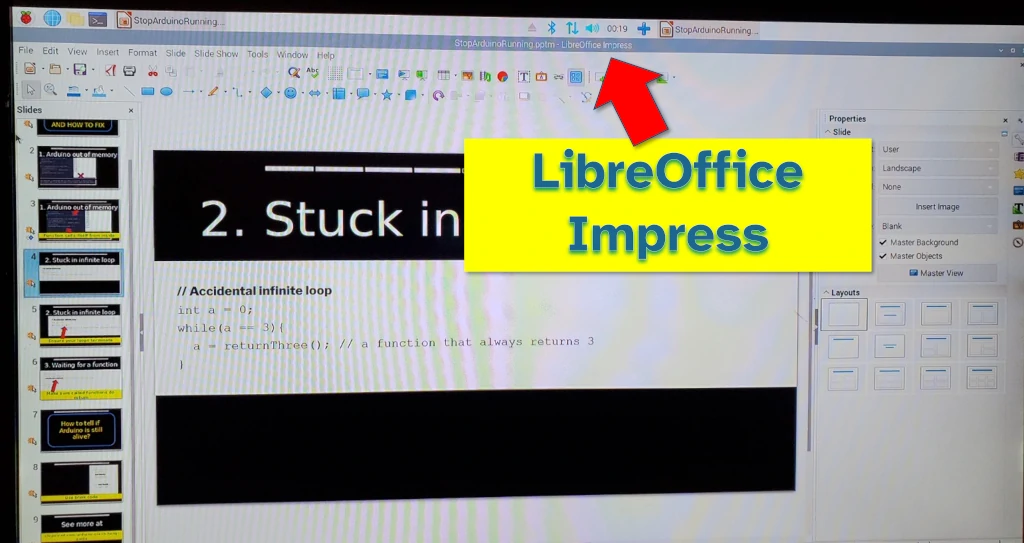
Raspberry Pi can use LibreOffice Impress – the equivalent to PowerPoint – to display a slideshow presentation. Impress supports .ppt, .pptx, and .pptm files and can deliver these as a full screen presentation with timings and loops.
LibreOffice Impress can edit .ppt, .pptx, and .pptm files on Raspberry Pi. It can rearrange slides, add text boxes, pictures, and other items, and apply formatting to slides. Impress is the best software on this list if you need to edit files on Raspberry Pi.
LibreOffice is installed by default if you’re using the full versions of Raspberry Pi OS or Raspbian. Impress is included as one of the installed apps. Otherwise, LibreOffice can be installed from the package manager:
sudo apt install libreofficeThe slides file can be transferred to the Raspberry Pi and opened locally, or it can be opened over a network. I usually recommend opening it locally (these files are typically so small they’re easy to fit on the Pi’s SD card), and the best ways to transfer files to a Raspberry Pi can be found here (I use the scp method).
If you’re interested in more ways to display dashboards using Raspberry Pi check out my guide here: chipwired.com/raspberry-pi-dashboards
3. Convert slides to PDF and use Chromium
Slide show presentations can often be converted to PDF. Chromium can be used to open PDF files and display them full screen as a presentation on a Raspberry Pi. One downside to using a PDF file is that you lose animations and timings – using a PDF is really only good if you’re going to be controlling the presentation manually.
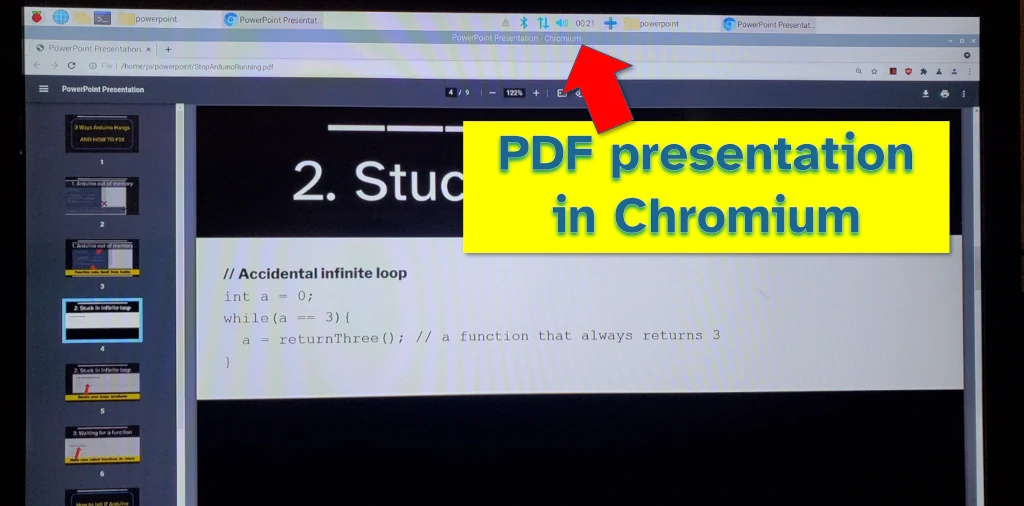
Raspberry Pi includes an installation of Chromium by default and this can be used to open a PDF file on the Raspberry Pi for displaying a slide show. Alternatively Firefox can be installed and used to display PDF files in presentation mode.
To display PDF presentations on your Raspberry Pi, follow these steps:
- Ensure Chromium or Firefox is installed on the Raspberry Pi
- Convert the slide show to PDF using LibreOffice Impress or Microsoft PowerPoint
- Open PDF on Raspberry Pi using Chromium or Firefox
If Chromium is not installed on your Raspberry Pi, simply open up a terminal and use this command to install: sudo apt install chromium-browser. Firefox can be similarly installed using the command sudo apt install firefox
Converting the slide show to PDF can be accomplished by opening up the file (either Impress or PowerPoint), selecting Export or Save As from the menu, and choosing the PDF file type.
To see more of the slides I used in these examples, I prepared them for a video about all the ways Arduino can crash or hang. Check out the full version here.
4. Create a command-line presentation in Terminal
Terminal can be used to display a slide show presentation. Text only slides – with formatting – can be built and displayed entirely from within Terminal. These are build using a text formatting language called markdown and a command-line app called mdp.
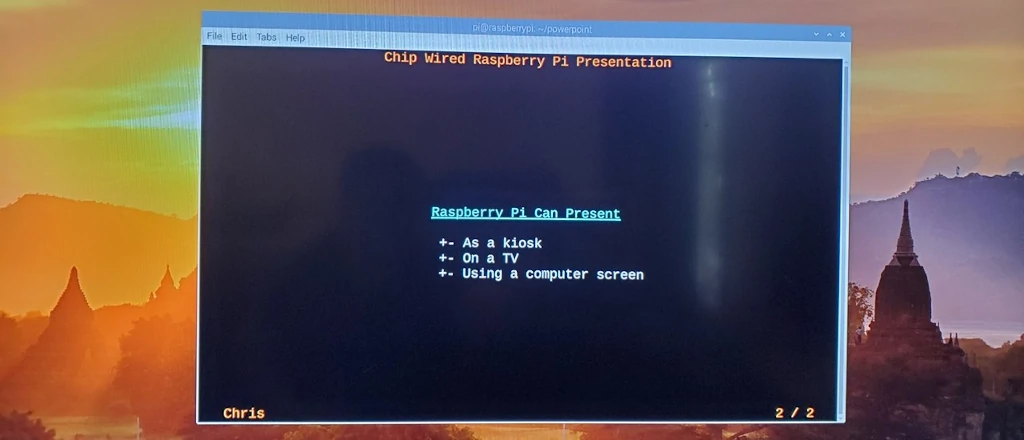
Raspberry Pi can display a slide show presentation from the Terminal using mdp. The slides are built from a text formatting language called Markdown – if you’re not sure what it is, check out the guide here or look at the example on mdp‘s website. These files can be created on Raspberry Pi using a text editor such as Nano or Vim.
To use mdp on Raspberry Pi:
- Open up Terminal and install mdp using this command:
apt install mdp - Create a .md markdown file using Nano, Vim or another text editor on the Raspberry Pi
- Run the following command on your .md file to start the presentation:
mdp filename.md
The Raspberry Pi Terminal can be made full screen for use in presenting these slides.
I wasn’t able to find a way to convert PowerPoint to Markdown slides. While it is possible to convert your Markdown file to .pptx (using pandoc), some of the layout required for mdp may not convert correctly.
5. Display with Google Slides
Google Slides is a full-featured slide show presentation tool designed to compete with Microsoft PowerPoint. It can display a slide show, edit text and pictures on slides, and even read and write .pptx files. Being browser-based, any modern web browser can run Google Slides to create and display a presentation.
Raspberry Pi’s default browser Chromium is capable of using Google Slides to create, edit, and display a slide show presentation.
Using Slides on Raspberry Pi is as simple as going to this URL using the web browser on the Pi: https://docs.google.com/presentation/u/0/?tgif=d
Once there you’ll be able to open up an existing presentation or create a new one. You can also display the slideshow from within Google Slides (the web browser will become full screen).