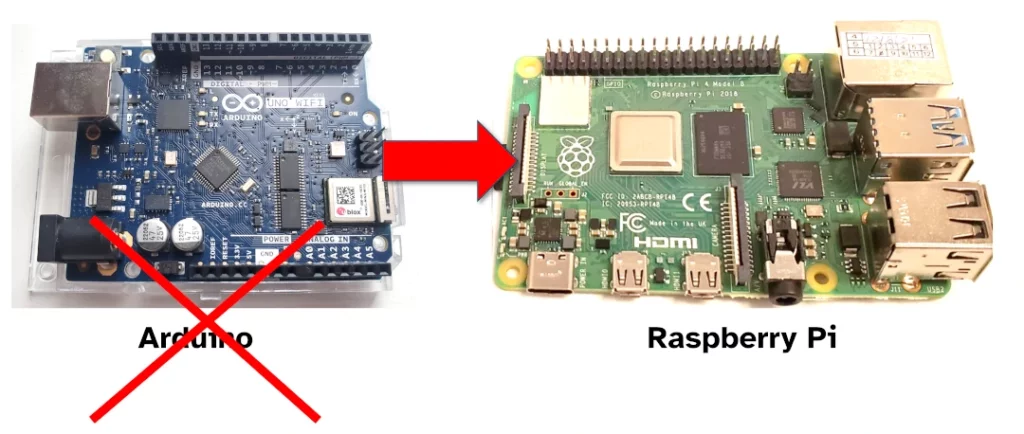
Trying to decide if it’s worth replacing an Arduino with a Raspberry Pi? In this guide I share some of my experience of when you can substitute a Raspberry Pi for an Arduino, based on my previous experience and work with both devices.
A Raspberry Pi can replace an Arduino in situations where space and power supply are not limited. This can include when controlling a robot, reading data from sensors, or displaying data on a dashboard. The Raspberry Pi has a generous number of GPIO pins which can be used to connect the same sensors and actuators that typically connect to an Arduino.
Some of the reasons I’ve found to substitute Raspberry Pi for Arduino:
- More processing power
- More memory
- Easier to communicate with external displays (e.g. HDMI)
- Easier to use the internet
Sticking with Arduino can be better for:
- Fine control over the timing of output
- Simple and cheap to replace (if it gets broken)
- Less power required and takes up less space
I wrote guides on the advantages of Arduino (here) and the disadvantages of Arduino (here) if you’d like to read more specifically. These guides include the difference in cost (Raspberry Pi is more expensive, but can be better value), and the differences in power (Raspberry Pi consumes more power). Further below I’ve listed out a few examples where Raspberry Pi can make a good substitute for an Arduino.
1. When controlling a robot
A robot micro-controller is typically responsible for two things: Sensing the current state of the world, and making decisions about what the robot should do based on that state.
A Raspberry Pi can replace an Arduino for controlling a robot as the Raspberry Pi can read from sensors to determine the state of the world, and it can make decisions to control the robot based on that state.
For projects that control a robot, a Raspberry Pi can:
- Have sensors connected to the GPIO, such as
- Read data from these senors using code running on the Raspberry Pi OS (or a real time operating system such as RTEMS)
- Send commands to motors and other connected peripherals to control the robot
A Raspberry Pi can control 2-4 motors using pins on the GPIO. More motors can be added by adding a HAT to the Raspberry Pi. These motors can be controlled using pulse-width modulation allowing you to control the speed they operate at. More detail on controlling motors with the Raspberry Pi can be found here.
It is possible to connect up to 26 sensors to a Raspberry Pi using the pins available on the GPIO. It’s more common to limit the number of sensors connected to be less than 10; many of the remaining 16 pins are intended to be used for other functions (such as serial communication). Sensors can also be connected or read by way of a Sense HAT.
There are some situations where an Arduino might still be better for controlling a robot, such as:
- When there’s a reasonable chance the Arduino might break (such as building an amateur outdoor robot)
- If you need fine control over the timing of the output (such as pulse width modulated motor control)
Arduino is a better choice when you think it might break easily. If you’re running an home-based hobby project (rather than an industrial one), and you’re not sure the Arduino is well-protected against getting wet or against impact, then using an Arduino is better than a Raspberry Pi. This is because the Arduino is easier to replace – it’s cheaper, and it’s easier to upload a sketch to Arduino than prepare an SD card and operating system for Raspberry Pi (at least in my experience, even an pre-prepared Raspberry Image has a greater time overhead than uploading a sketch to a new Arduino).
I’ve also found it easier to control the timing of output when using an Arduino, as compared to a Raspberry Pi. An Arduino is generally better at controlling the output pins predictably based on the instruction cycles on the micro-controller chip itself. This is a little harder to do with Raspberry Pi due to the Operating System getting in the way (the OS can schedule other apps to run between yours); a Real Time Operating System solves this problem when using Raspberry Pi, but I’ve found them much harder to setup.
2. Reading data from sensors
As in the robot example above, a Raspberry Pi is perfectly capable of replacing an Arduino when the project requires reading data from sensors.
The Raspberry Pi can read from up to 26 sensors connected directly to its GPIO (though it’s easier if you limit this number to 10), and it supports additional sensors added via serial links (SPI, I2C, USB, etc.) and HATS. This is more than the typical Arduino – while my UNO Rev 2 may support over a dozen sensors, I’ve found it difficult to get things working when more than a handful are connected.
Any sensor which connects directly to the IO pins on the Arduino, should also work when connected directly to the GPIO on the Raspberry Pi – meaning you shouldn’t need to add any resistors or other components to your circuit. You will still need to configure the pins using code on the Raspberry Pi before reading the sensors.
3. Displaying a dashboard
A Raspberry Pi can display elaborate dashboards with greater ease than an Arduino can. Sensors connected to the Raspberry Pi can have their data logged, and then displayed on a dashboard (similarly to an Arduino). Using code on a Raspberry Pi, it is possible to:
- Display a dashboard connected directly to the device
- Host a web-based dashboard that can be served to other devices (e.g. phone)
- Host a terminal dashboard that can be accessed from another computer over SSH
An Arduino can typically only serve a dashboard as a web page that can be viewed on another device. This is because most Arduino do not have the right interface to support directly connecting a monitor (such as HDMI). It is also harder to write a sketch that drives a display even if one is connected to the Arduino.
A Raspberry Pi can act as a server for a dashboard (similar to an Arduino), or it can power a monitor directly over HDMI (thanks to the operating system taking care of the minutia required to control a display).
4. Saving data to an SD card
A common Arduino task is to measure data from a sensor and store that data on an SD card.
A Raspberry Pi can be used instead of an Arduino to store data on an SD card. This data can come from sensors, the internet, or other sources (I wrote a guide on collecting data with Raspberry Pi here).
The operating system SD card can be used to store files, or an SD card hat can be purchased and an additional SD card used.
5. Saving data to the cloud
An Arduino can communicate with a cloud provider API to store data in the cloud. It does this using its WiFi or Ethernet connections, and typically works best with HTTP or MQTT communication protocols.
One challenge I often see when getting an Arduino to send data to the cloud is getting that data in the right format (CSV, JSON, binary, etc). I’ve found this to be much easier on the Raspberry Pi.
Raspberry Pi can replace Arduino for situations where you need to send data to the cloud. With a greater variety of programming languages available on the Raspberry Pi, it is easier for the Raspberry Pi to format data as required by the cloud provider API, and then to communicate with the cloud using its protocol.
I’ve written quite a few guides about Raspberry Pi and Arduino saving data to the cloud, check them out here:
- Free cloud providers that work with Arduino: chipwired.com/arduino-free-cloud
- How a Raspberry Pi can store data, including on the cloud: chipwired.com/raspberry-pi-store-data
- How to send JSON data to a REST API using Raspberry Pi: chipwired.com/raspberry-pi-send-json-data-rest-api
- How an Arduino can store data using the cloud: chipwired.com/arduino-store-data